
Construction · Surfaces
Closing the walls and building the surfaces.
Once the inspections pass, the room turns from a framework back into a room. Drywall goes up and is taped and skimmed, a shower is waterproofed and flood-tested, the floor goes down, the recessed lights are trimmed and everything is primed. It is the stage when a kitchen starts to look like the drawings, and the one where the flatness of the walls and floor decides how well the cabinets and tile will go in.
At a glance
When it happens and how long it takes.
Drywall, skim coat and priming take about a week in a kitchen, with drying time between coats; a site-finished wood floor adds a few days of sanding and drying, and a tile floor a day or two of setting and grouting. In a bathroom the waterproofing, flood test and tile take a week or more and are the heart of the three-to-five-week construction stage.
Cabinets are usually delivered toward the end of this stage, timed to the confirmed date from before construction. The durations are planning guidance as of September 2026, not a schedule for your project.
What happens
From bare studs to a primed, floored room.
The order matters: the floor goes down before the cabinets so the cabinets sit on it, and the walls are flat before anything is fastened to them.
- 01
Drywall and skim coat
New board on every opened wall and ceiling, moisture-resistant board in a bathroom, cement or foam board where tile will go. Taped, mudded and sanded. In a vintage house with plaster, whole walls are often skim-coated so they are flat enough for cabinets and large-format tile.
- 02
Shower waterproofing and the flood test
The pan is sloped, the membrane is applied to the walls and floor, corners, the curb and the niche are sealed, and the shower is filled and left to stand. It is photographed for your records before a single tile goes on.
- 03
Floors
Wood floors are laid now and finished later; tile floors are set over a membrane and a heated mat if one was specified, then grouted. Both go in before the cabinets or the vanity, so the boxes sit on the finished height.
- 04
Shower and bathroom wall tile
Walls first, then the floor, set to the tile drawing so the niche and the cuts land where they were planned. Grouted and sealed before the glass is measured.
- 05
Recessed lights and ceiling fixtures
Trims and lamps go into the boxes placed at rough-in, and the ceiling is painted while there is nothing below it to protect.
- 06
Primer
Every new wall and ceiling primed before cabinets, so the paint stage later is coats of color rather than a fight with bare drywall.
- 07
Protection again
New floors are covered as soon as they are done and stay covered until the walkthrough.
From our jobs
What this stage looks like.
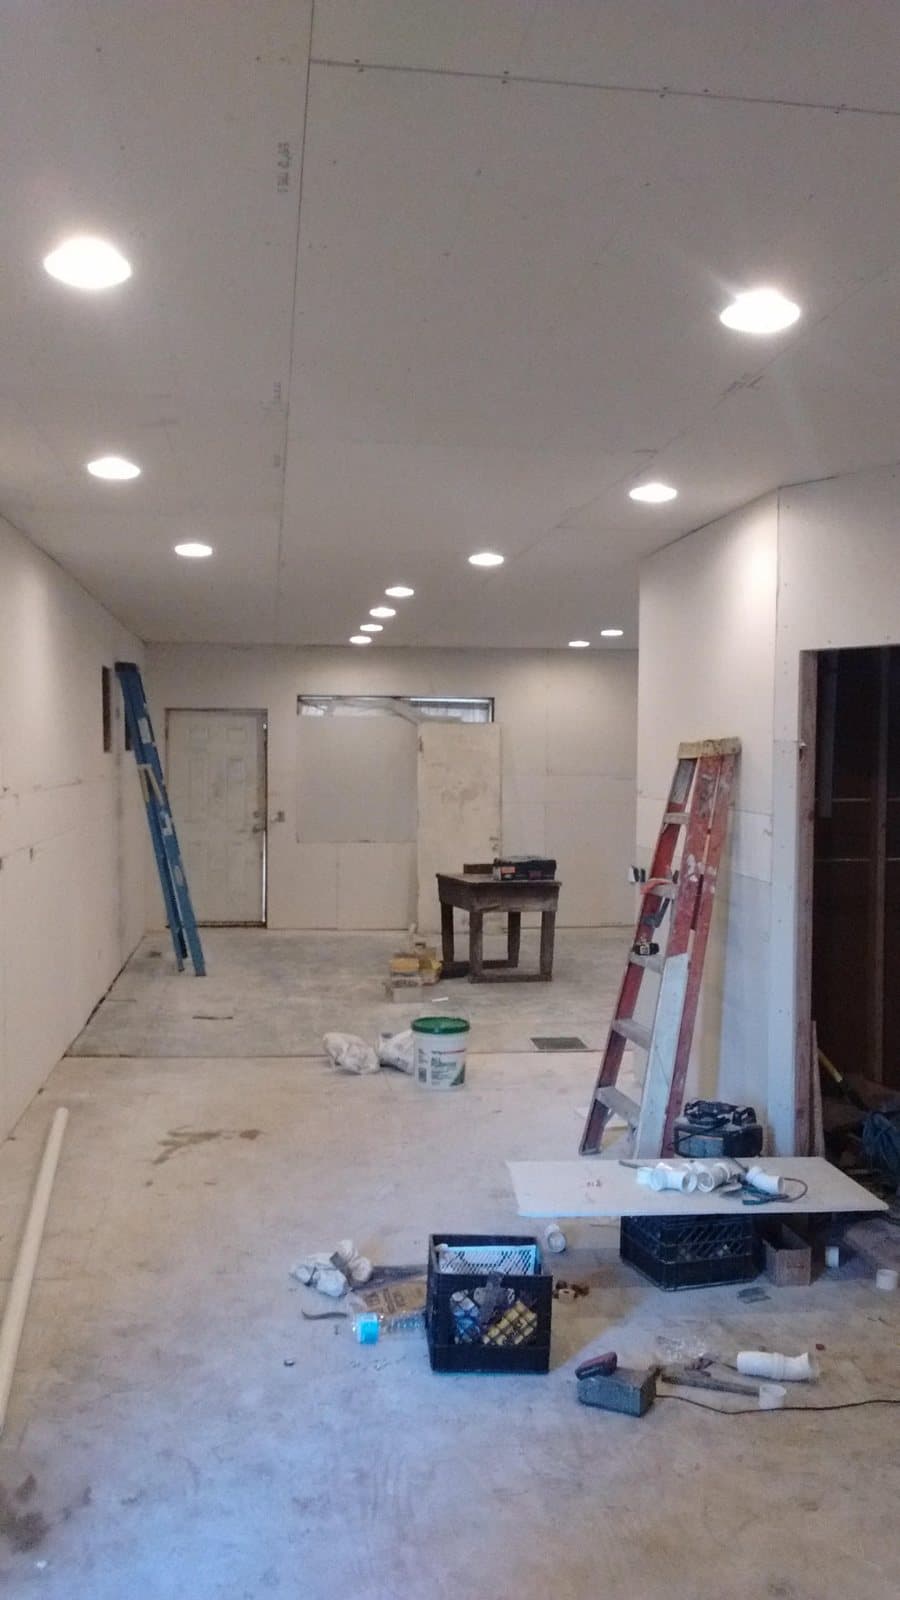
A room with new board on every wall and ceiling and the recessed lights already trimmed and lit, before taping. This is the point where the layout on paper becomes a room. 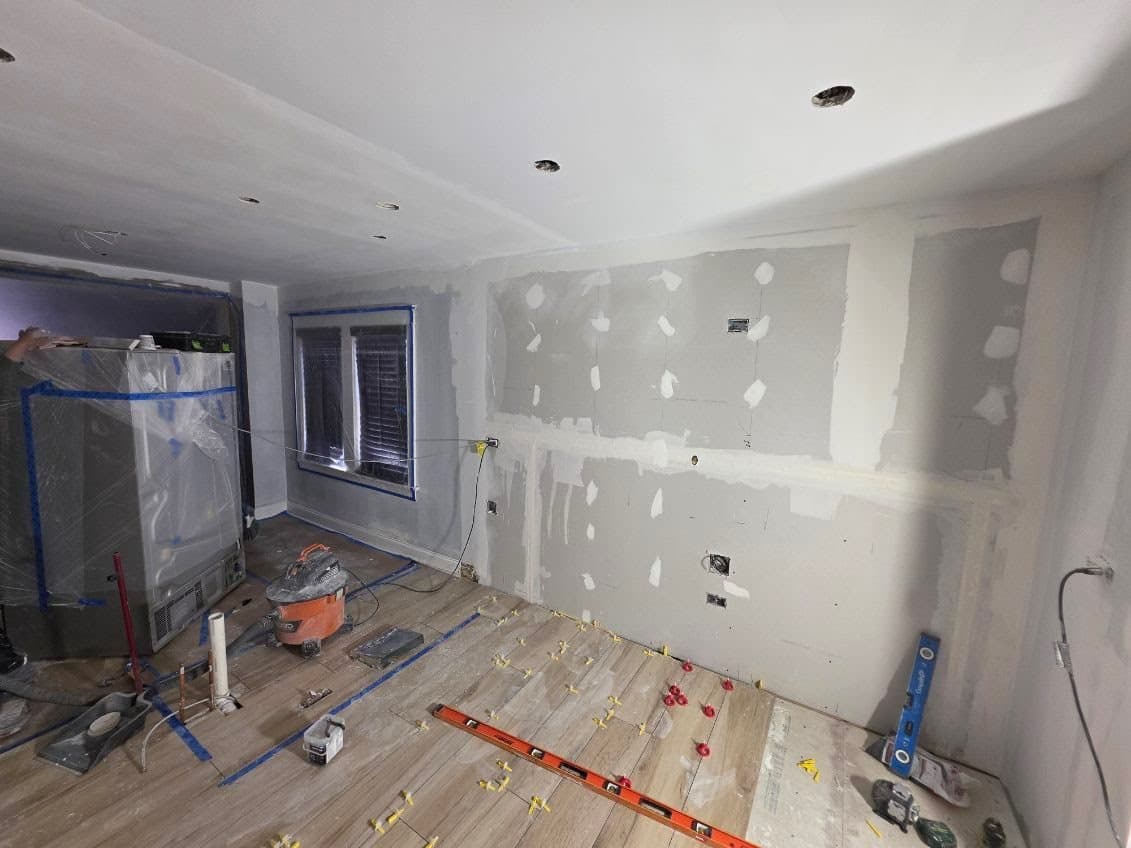
Walls taped and mudded with the outlet boxes marked, and wood-look porcelain going down with leveling clips and a long level. The cabinets arrive the following week. 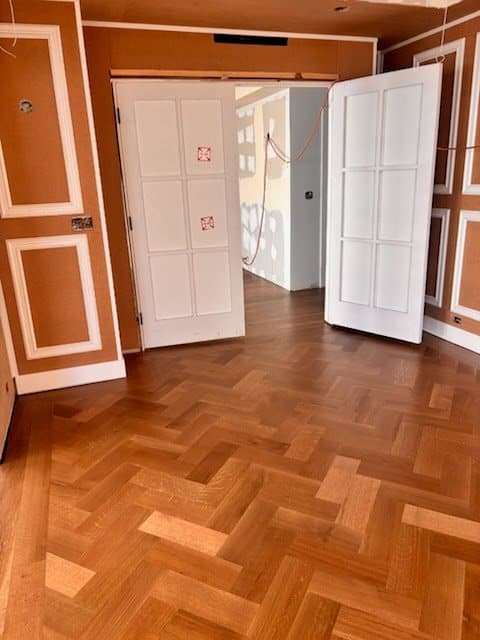
A herringbone oak floor laid before the doors are hung and the trim is painted, then covered for the rest of the job. 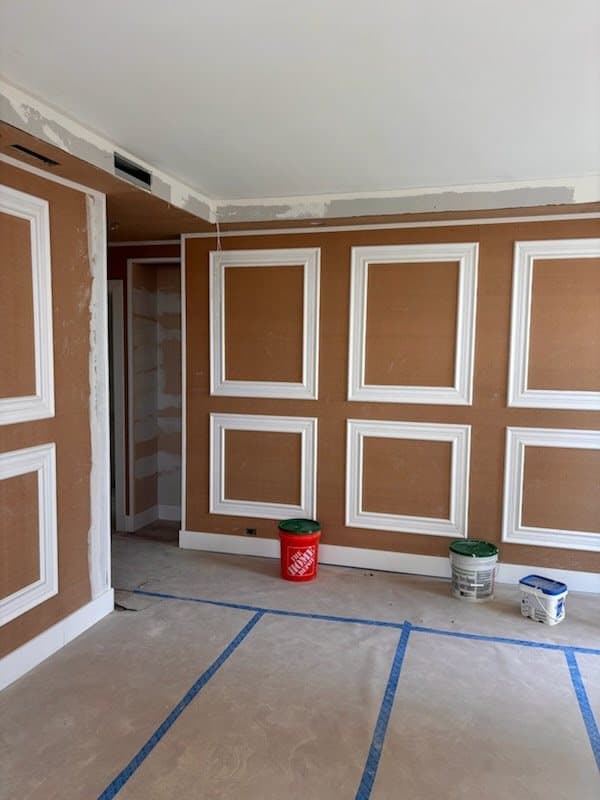
In a room with millwork, the panel moulding is installed and primed with the walls, ready for paint after the cabinets and counters are in.
Photographs taken by our team during construction, captioned by stage. They are not design references.
Your side of it
What you will see and decide.
This is the week the room becomes recognizable, and the week most clients relax. The decisions left are small and visible: the grout color on a sample board, the exact height of a niche shelf if the tile module allows a choice, and confirming the paint color on a primed wall in your own light rather than from a chip.
- The flood-test photographs, sent to you before the tile goes on
- A grout sample set against your tile before grouting
- The paint color confirmed on the primed wall, beside a cabinet door sample
- A look at the floor before it is covered
Before cabinets
What has to be true before the cabinets arrive.
Cabinets set on an unfinished floor or against a wavy wall look wrong forever. These are checked the day before delivery.
- 01
Walls flat and plumb
Checked with a straightedge along every run the cabinets will meet. Furring or skim coat added where the house is out.
- 02
Floor level and finished
The finished floor height is known, so the cabinet toe kicks and the counter height come out right.
- 03
Flood test passed and photographed
In a bathroom, the membrane held water and the photographs are in your file.
- 04
Primed and dry
Walls and ceiling primed, with drying time allowed before cabinets go against them.
- 05
Boxes located
Outlet and switch boxes marked on the primed wall and checked against the cabinet elevations one last time.
- 06
Delivery route clear
The path from the door to the room protected and clear, and in a condo the elevator reserved.
Questions
Common questions about drywall, floors and paint prep.
Why is the shower flood-tested?
Because the waterproofing is the one thing you cannot check after the tile is on. The pan is filled and left to stand, and if the level drops or anything shows below, it is fixed before tile. We photograph it for your records.
Does the wood floor go in before or after the cabinets?
Before. The cabinets sit on the finished floor, which means the floor can be refinished or replaced later without removing them. Site-finished wood is sanded and coated near the end of the job.
Why skim-coat the whole wall in an older house?
Plaster walls wave, and cabinets and large-format tile show every wave. A skim coat is the difference between a straight run of uppers and a row of shims and fillers.
Can I see the room during this stage?
Yes, and it is the easiest stage to visit. The room is safe to walk through, the layout is visible and the decisions left are small.
Ready to start the first stage?
Include photos with your inquiry for complimentary render previews within minutes. Photos are optional.
Prefer to talk first? Call or email during business hours.
- Call
- (312) 210-0016
Related
- How the four stages workInquiry, in-home visit, proposal and build.
- Cabinet and countertop installationThe week the kitchen goes in.
- Rough-in and inspectionsWhat was placed behind these walls.
- Walk-in showers and wet roomsSizing, drains, slope, waterproofing and glass.
- Painting and finishesSkim coat, primer and the order paint happens in.